Remix Notification
In this blog post, we will discover how to display notification in Remix. We will be using react-hot-toast for client side notification, but you can easily replace it with your preferred notification implementation! Lets see how to do this.
Content
Stater Project
I will be using RemixFast to generate the codebase for a ready to run Starter project, but you can use the Indie Stack to create your project as well, just create model along with route, and follow along.
Login to RemixFast and click Create and enter following
App Name: 'NotificationApp'
Type: 'Starter App'
App Name: 'NotificationApp'
Type: 'Starter App'Next find the newly created app NotificationApp (first one in the list) and select it to launch Visual Editor. In Visual Editor ensure you are on Models tab and click Add to create new model and enter following:
Model Name: 'Widget'
`Tab` and create columns
'widgetName'
'widgetNumber'
Model Name: 'Widget'
`Tab` and create columns
'widgetName'
'widgetNumber'Click Done, this will create Widget model. Next click Export Code (in upper right corner), and select following
App Version: '1.0.0'
Stack: 'The Indie Stack'
App Version: '1.0.0'
Stack: 'The Indie Stack'Click Export Code. This will create a ready to run starter project with models and routes. Select Code tab, and then click Download Code to download the generated code. Expand downloaded code package and take a minute to examine auto generated code, please do not run/init project just yet.
Seed
Let's seed the Widget table with some data for testing. Copy following code into prisma\seed.ts just before console.log('Database has been seeded. 🌱');.
for (let i = 0; i < 33; i++) {
  let data: Prisma.WidgetCreateInput = {
    widgetName: `Widget ${i + 1}`,
    widgetNumber: `W-${i + 1}`,
  };
  const w = await prisma.widget.create({
    data,
  });
}
for (let i = 0; i < 33; i++) {
let data: Prisma.WidgetCreateInput = {
widgetName: `Widget ${i + 1}`,
widgetNumber: `W-${i + 1}`,
};
const w = await prisma.widget.create({
data,
});
}We are creating dummy widget data and inserting into Widget table. Now run npm run init and you should have database with widgets populated.
Display Item List and Item Detail
We will show users a list of items and when they click an item, show the selected item details.
Find app\routes\widget.tsx and locate WidgetRoute function. Replace function with following:
export default function WidgetRoute() {
  const { widgetList } = useLoaderData<typeof loader>();
  const params = useParams();
  return (
    <div className="flex h-full flex-col overflow-hidden">
      <div className={`h-full overflow-auto ${!showModal ? ' basis-6/12 ' : ''}`}>
        {widgetList.map((w) => (
          <Link key={w.widgetId} to={`${w.widgetId}`} replace={Boolean(params?.widgetId)}>
            <div className="m-4 rounded-md border p-4">
              <div className="text-large font-semibold">{w.widgetName}</div>
            </div>
          </Link>
        ))}
      </div>
      <div className="basis-6/12 bg-slate-100 py-2">
        <Outlet />
      </div>
    </div>
  );
}
export default function WidgetRoute() {
const { widgetList } = useLoaderData<typeof loader>();
const params = useParams();
return (
<div className="flex h-full flex-col overflow-hidden">
<div className={`h-full overflow-auto ${!showModal ? ' basis-6/12 ' : ''}`}>
{widgetList.map((w) => (
<Link key={w.widgetId} to={`${w.widgetId}`} replace={Boolean(params?.widgetId)}>
<div className="m-4 rounded-md border p-4">
<div className="text-large font-semibold">{w.widgetName}</div>
</div>
</Link>
))}
</div>
<div className="basis-6/12 bg-slate-100 py-2">
<Outlet />
</div>
</div>
);
}And remember to import the Outlet component
import { Link, Outlet, useLoaderData } from '@remix-run/react';import { Link, Outlet, useLoaderData } from '@remix-run/react';Ok, now lets display the details for selected widget. Find app\routes\widget\$widgetId.tsx and locate WidgetFormRoute function. Replace function with following:
export default function WidgetFormRoute() {
  //const {widget} = useLoaderData<typeof loader>();
  // OR
  const { widgetList } = useMatchesData('routes/widget') as { widgetList: Widget[] };
  const params = useParams();
  const widgetId = +(params.widgetId || 0);
  const widget: Widget = widgetList.find?.((r: Widget) => r.widgetId === widgetId) || getNewWidget();
  //
  const navigate = useNavigate();
  const handleClose = () => {
    setIsOpen(false);
    navigate(-1);
  };
  //
  return (
    <div className="m-4 flex flex-col  rounded-md border p-4 md:max-w-lg" key={widget.widgetId}>
      <Form method="post">
        <input type="hidden" name="widgetId" value={widget.widgetId ?? 0} />
        <div className="m-4 flex flex-col gap-2 rounded-md border p-4">
          <label>
            <div className="text-base font-light">Name</div>
            <input className="border p-2" name="widgetName" required defaultValue={widget.widgetName ?? ''} />
          </label>
          <label>
            <div className="text-base font-light">Number</div>
            <input className="border p-2" name="widgetNumber" defaultValue={widget.widgetNumber ?? ''} />
          </label>
          <div className="flex justify-between">
            <button className="mt-4 self-end" onClick={handleClose}>
              Close
            </button>
            <button className="mt-4 self-end" name="_method" value="put">
              Update
            </button>
          </div>
        </div>
      </Form>
    </div>
  );
}
export default function WidgetFormRoute() {
//const {widget} = useLoaderData<typeof loader>();
// OR
const { widgetList } = useMatchesData('routes/widget') as { widgetList: Widget[] };
const params = useParams();
const widgetId = +(params.widgetId || 0);
const widget: Widget = widgetList.find?.((r: Widget) => r.widgetId === widgetId) || getNewWidget();
//
const navigate = useNavigate();
const handleClose = () => {
setIsOpen(false);
navigate(-1);
};
//
return (
<div className="m-4 flex flex-col rounded-md border p-4 md:max-w-lg" key={widget.widgetId}>
<Form method="post">
<input type="hidden" name="widgetId" value={widget.widgetId ?? 0} />
<div className="m-4 flex flex-col gap-2 rounded-md border p-4">
<label>
<div className="text-base font-light">Name</div>
<input className="border p-2" name="widgetName" required defaultValue={widget.widgetName ?? ''} />
</label>
<label>
<div className="text-base font-light">Number</div>
<input className="border p-2" name="widgetNumber" defaultValue={widget.widgetNumber ?? ''} />
</label>
<div className="flex justify-between">
<button className="mt-4 self-end" onClick={handleClose}>
Close
</button>
<button className="mt-4 self-end" name="_method" value="put">
Update
</button>
</div>
</div>
</Form>
</div>
);
}Remember to import Form from @remix-run/react.
Start project with npm run dev and go to http://localhost:3000/widget and select a widget, you should see URL change to /widget/:id and UI will display the selected widget details.
We are first getting list of widgets and when user select a widget, we show details. We have also added buttons to let user update widget details. Note usage of name and value attributes on button element. When user clicks Update button, browser will also send button name and value as part of FormData (in addition to input elements).
In action we use button name to determine the action to take with following code
let method = formData.get?.('_method') || request.method;let method = formData.get?.('_method') || request.method;If we get method === 'put', we update the sent widget data and redirect user back to widget list.
Notification
We will let user know of successful update using a toast notification. Let's first modify the update action to send out notification on a successful update.
Locate action method in file app\routes\$widgetId.tsx and look for update functionality else if (method === 'put') {. Examine the code, we are first getting widget data from the submitted FormData and then updating same to database. If update is successful, we redirect user back to the widget list.
return redirect(`/${redirectTo}${url.search}`);return redirect(`/${redirectTo}${url.search}`);Instead of just redirecting user back, we also want to send out notification. We will utilize session flesh method to send out notification. Modify redirect as follows:
setToastMessage(session, `${widgetToUpdate.widgetName} Updated`);
return redirect(`/${redirectTo}${url.search}`, {
  headers: { 'Set-Cookie': await commitSession(session) },
});setToastMessage(session, `${widgetToUpdate.widgetName} Updated`);
return redirect(`/${redirectTo}${url.search}`, {
headers: { 'Set-Cookie': await commitSession(session) },
});Any time we change a session by setting or getting message, we need to commit session as we are using cookie based session storage.
Lets add code for setToastMessage and commitSession methods. Open app\session.server.ts and add following code to end of the file"
// for toast
export async function commitSession(session: Session) {
  return sessionStorage.commitSession(session);
}

export function setToastMessage(session: Session, message: string) {
  session.flash('toastMessage', message);
}
// for toast
export async function commitSession(session: Session) {
return sessionStorage.commitSession(session);
}
export function setToastMessage(session: Session, message: string) {
session.flash('toastMessage', message);
}And add import for setToastMessage and commitSession to app\routes\$widgetId.tsx
Now that we are sending out notification, we need a place to read and show it. Lets code that part next.
Start by installing react-hot-toast
npm install react-hot-toastnpm install react-hot-toastIn order to show toast, we first need to add <Toast/> component to app. Best place to add that is in root file. Locate app/root.tsx and insert <Toast/> below <Outlet/>. And import Toaster from react-hot-toast.
We can display toast either in individual components based on action results or consolidate process of showing notification in a central place. We will use the root component to display as it is always present on all the route paths!
First modify react-hot-toast import to also import toast function (in app/root.tsx file)
import toast, { Toaster } from 'react-hot-toast';import toast, { Toaster } from 'react-hot-toast';Next change loader to read toast message from the session and return the message as part of loader data, as follows:
export async function loader({ request }: LoaderArgs) {
  const session = await getSession(request);
  const toastMessage = session.get('toastMessage') || null;
  return json(
    { toastMessage },
    {
      headers: {
        'Set-Cookie': await commitSession(session),
      },
    },
  );
}
export async function loader({ request }: LoaderArgs) {
const session = await getSession(request);
const toastMessage = session.get('toastMessage') || null;
return json(
{ toastMessage },
{
headers: {
'Set-Cookie': await commitSession(session),
},
},
);
}Above, we are using session get the toast message. And since we are using cookie storage, we need to commit session now that we have read the message.
Lets modify the app to read toast message and show notification
export default function App() {
  const { toastMessage } = useLoaderData<typeof loader>();
  useEffect(() => {
    if (!toastMessage) {
      return;
    }
    toast(toastMessage);
  }, [toastMessage]);
  return (
    <html lang="en" className="h-full">
      <head>
        <Meta />
        <Links />
      </head>
      <body className="h-full overflow-hidden">
        <Outlet />
        <Toaster />
        <ScrollRestoration />
        <Scripts />
        <LiveReload />
      </body>
    </html>
  );
}
export default function App() {
const { toastMessage } = useLoaderData<typeof loader>();
useEffect(() => {
if (!toastMessage) {
return;
}
toast(toastMessage);
}, [toastMessage]);
return (
<html lang="en" className="h-full">
<head>
<Meta />
<Links />
</head>
<body className="h-full overflow-hidden">
<Outlet />
<Toaster />
<ScrollRestoration />
<Scripts />
<LiveReload />
</body>
</html>
);
}We are using standard useLoader hook to retrieved data returned by loader and extract sent toast message from it. We show the message using toast function.
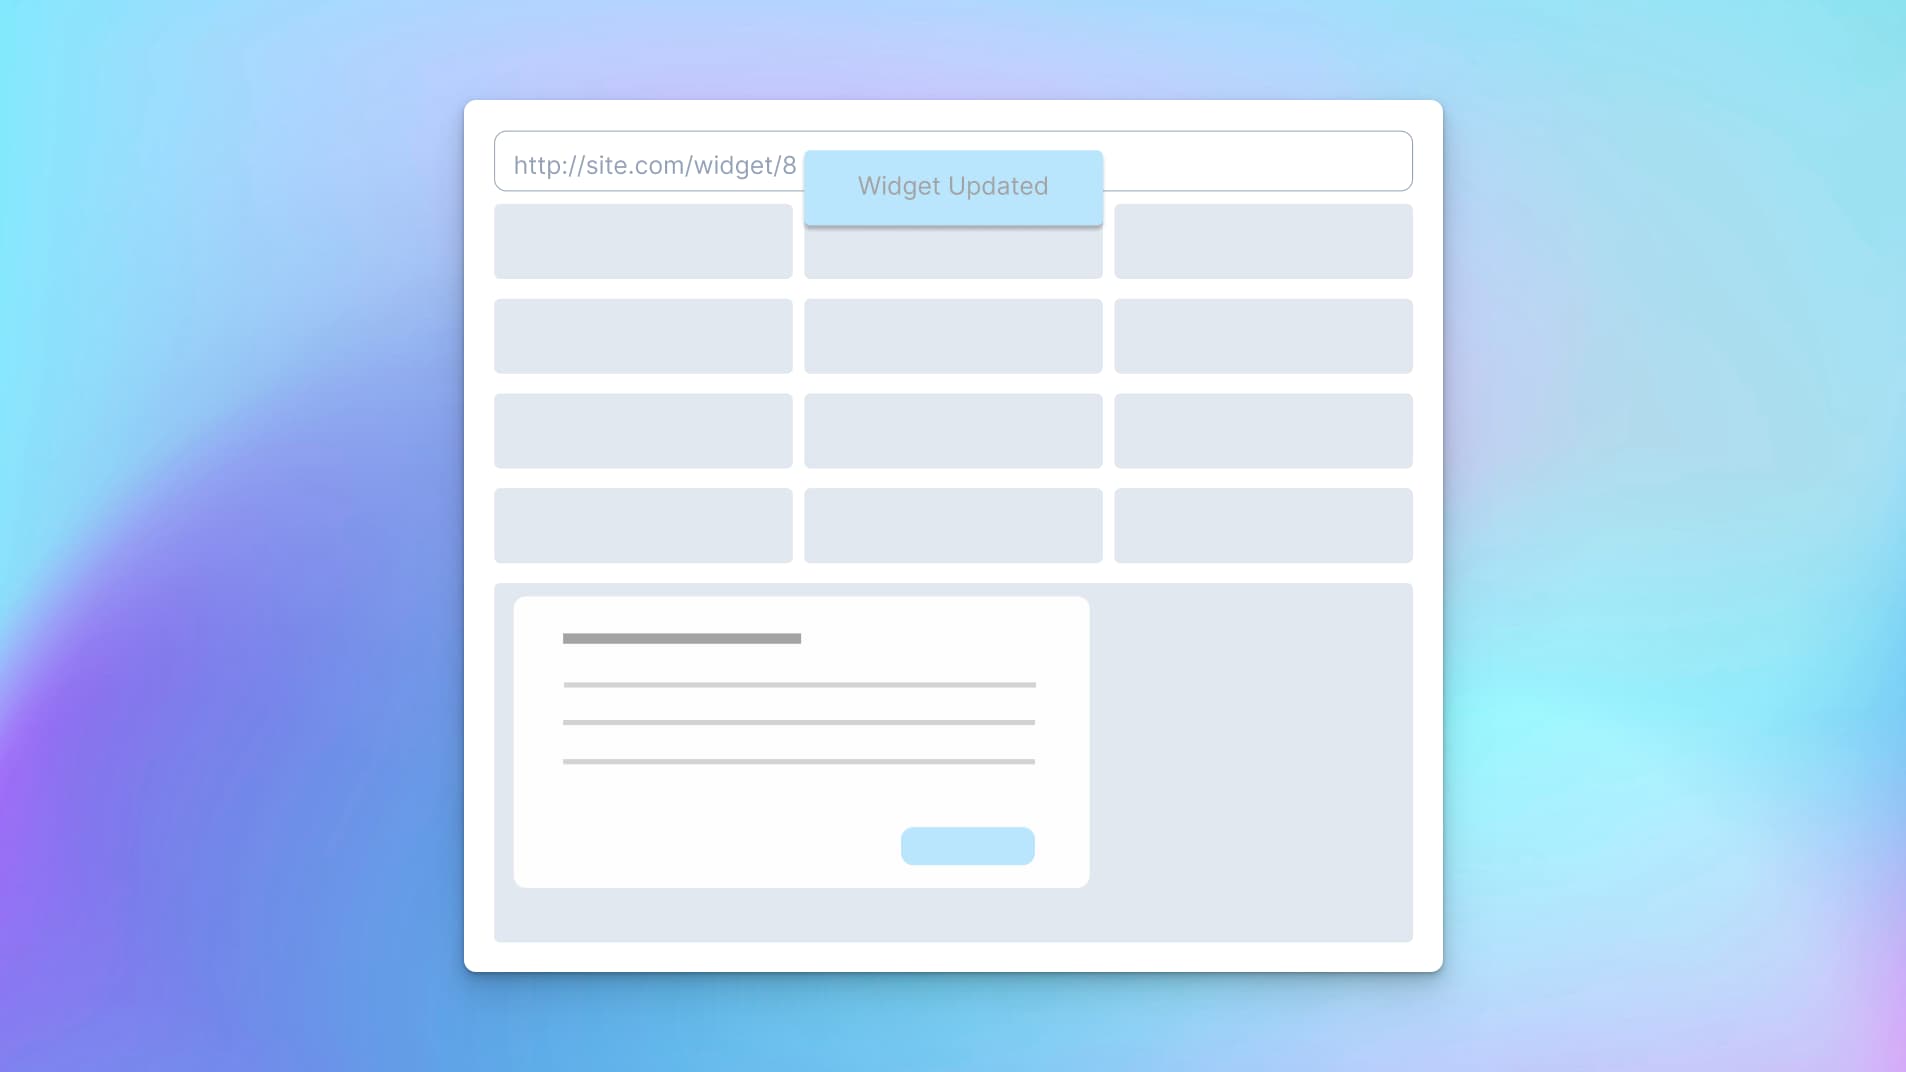
Start the project with npm run dev and go to http://localhost:3000/widget and select a widget. Update the widget name, you should see notification toast informing that the widget wast updated!
Next Steps
Hopefully you now have a good idea of how to display notification in Remix. While we used simple string based message, you can make notification fancy by including additional context and utilize toast functionality to show fancy messages!
Find Source code with a ready to run project @ GitHub
RemixFast
RemixFast auto generates code with pre-wired notification for different actions, including different messages for success and error scenarios.